

Step 1: Safety First—Always Unplug the Appliance
Never perform any maintenance or insert any cleaning tool into a toaster while it is plugged into a wall outlet. Even when the carriage lever is in the up position, many toasters maintain live electrical voltage across internal switch contacts. Touching an internal contact with moisture, metal, or damp bristles carries a severe risk of electric shock or short-circuiting the unit. Unplug the unit completely and allow it to cool down for at least thirty minutes.
Step 2: Empty and Scrub the Crumb Tray
Most modern toasters feature a slide-out crumb tray located at the rear or side of the base.
-
Slide the tray out smoothly over a trash can to avoid scattering crumbs across your clean floor.
-
Discard all loose debris.
-
Wash the metal tray in the sink using warm water, a degreasing dish soap, and a non-abrasive sponge to remove baked-on oils.
-
Set the tray aside to dry completely before reinserting.
If your older toaster does not have a slide-out tray, it likely features a hinged bottom flap that unlatches over the garbage bin.
Step 3: Invert and Shake
Take the unplugged toaster over the kitchen sink or an outdoor trash bin. Turn the appliance completely upside down and shake it firmly yet gently from side to side. This dislodges large crust fragments and seeds trapped on internal horizontal ledges that never made it down into the tray.
Step 4: Clean the Heating Elements with a Soft Brush
Warning: Never stick a metal butter knife, fork, wire brush, or steel wool inside your toaster slots. Metal tools can easily bend, snap, or scratch the delicate, paper-thin nichrome wire ribbons, permanently breaking the electrical circuit and ruining the appliance.
Instead, take a clean, dry, soft-bristled pastry brush, a clean dry paintbrush, or a soft toothbrush:
-
Insert the bristles gently into the vertical slots.
-
Brush downward in smooth strokes, following the direction of the metal wire guides.
-
Sweep away any charred flakes clinging to the mica sheets down toward the open bottom of the toaster.
-
Turn the toaster upside down one final time to shake out the swept debris.
Step 5: Clean and Degrease the Exterior
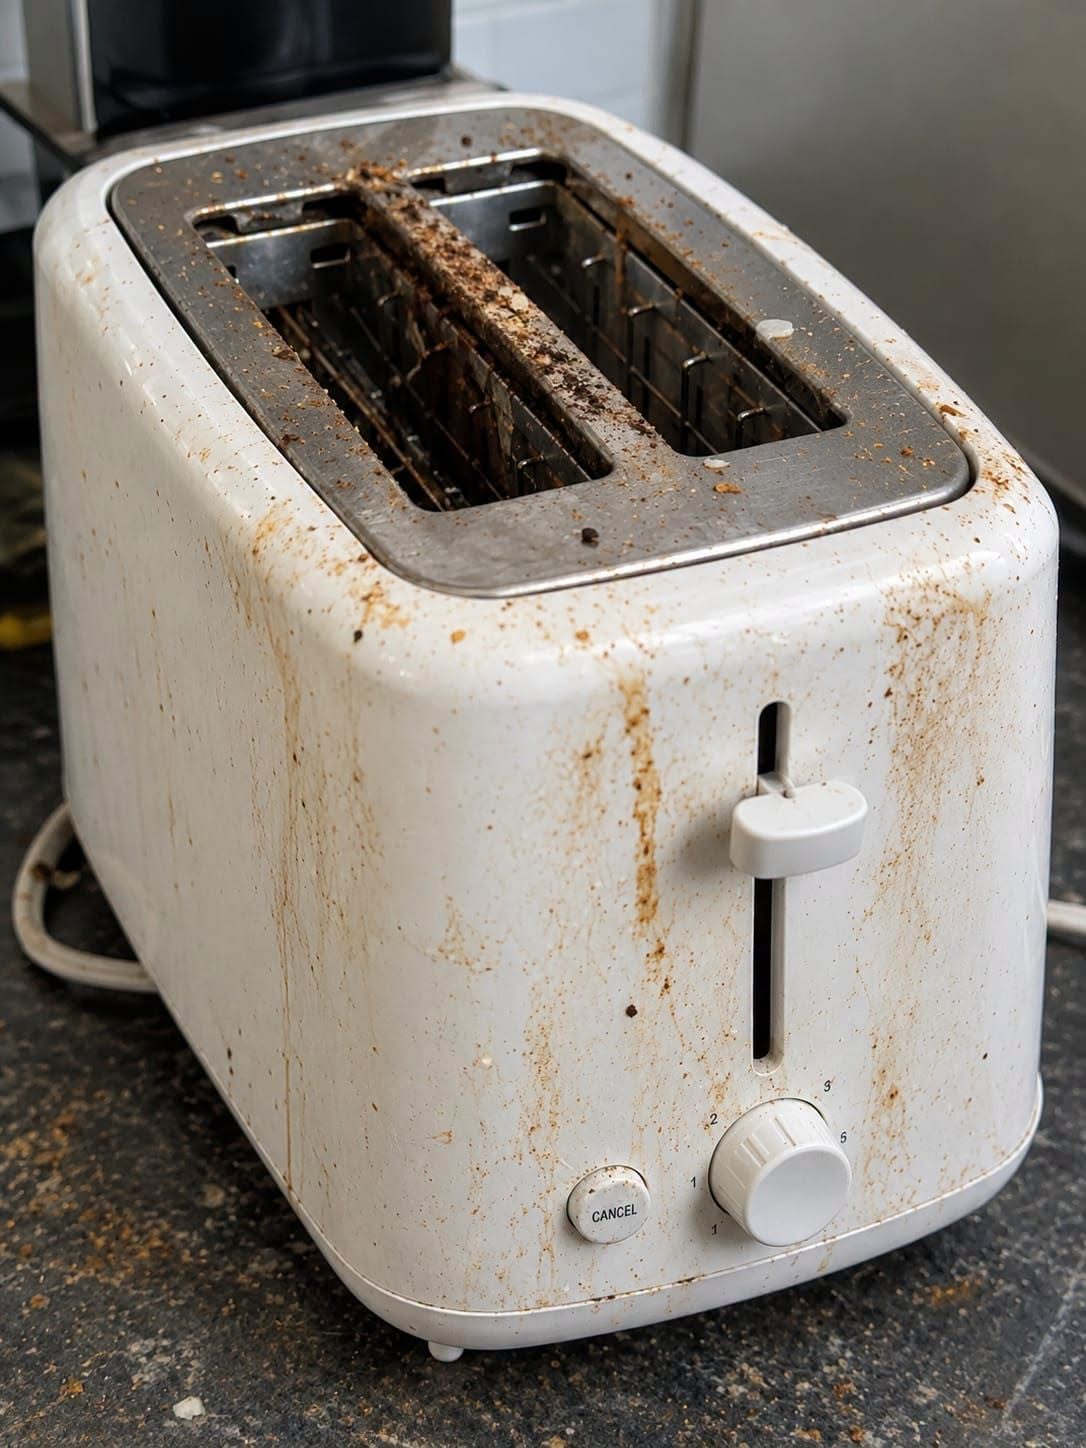
To break down the sticky, polymerized cooking grease on the outer casing (as seen in the soiled toaster pictured):
-
For Plastic Casings: Mix warm water with a few drops of grease-cutting liquid dish soap. Dampen a soft microfiber cloth—making sure it is damp, never dripping wet—and wipe down the exterior surfaces, paying special attention to the front faceplate, lever handle, and browning dial.
-
For Stubborn Yellowed Grease: Make a gentle paste using baking soda and a tiny splash of water. Rub the paste gently over grease streaks with a microfiber cloth; baking soda provides mild alkaline cleaning without scratching high-gloss plastics.
-
For Stainless Steel Finishes: Wipe with a 50/50 mixture of distilled white vinegar and water to cut grease and eliminate water spots, followed by a drop of mineral oil or olive oil rubbed in the direction of the metal grain to restore a streak-free shine.
-
Detailing Crevices: Dip a cotton swab in rubbing alcohol to detail the tight channels around the carriage slider lever, cancel button, and dial markings where grime tends to collect.
