

Step 2: Prepare the Rhizomes
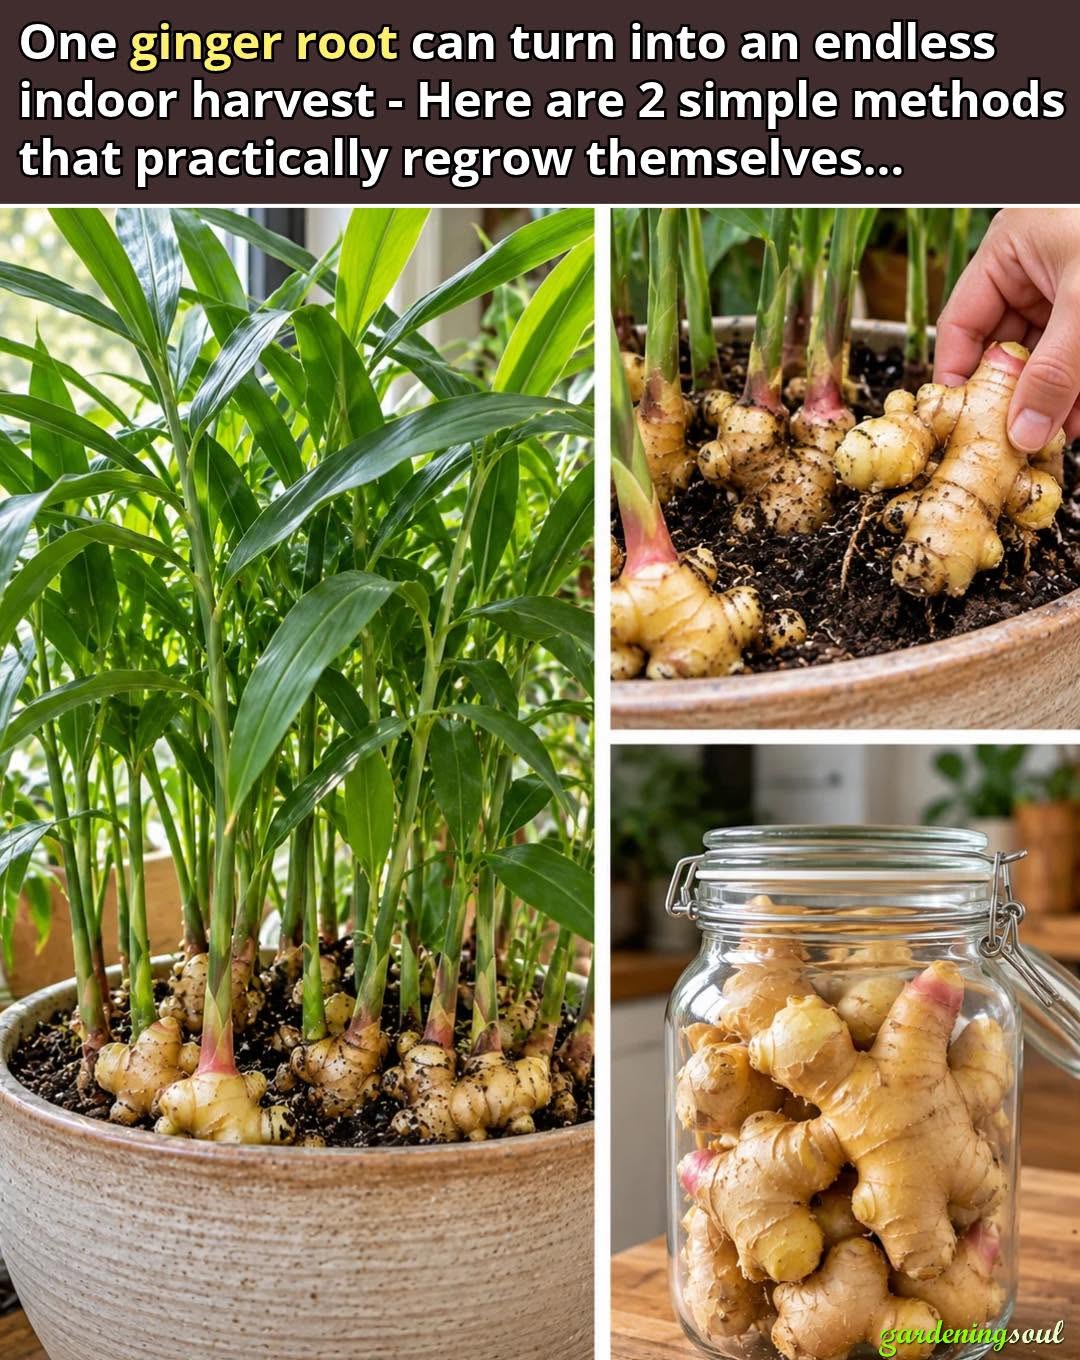
Choose plump ginger pieces with visible eyes (small growth buds). Organic ginger works best because it’s less likely to be treated with growth inhibitors.
If your ginger doesn’t have buds yet, soak it in warm water for a few hours to “wake it up.”
Step 3: Plant the Rhizomes
Place the ginger pieces horizontally just below the soil surface, about 1 inch deep. Space them a few inches apart so they have room to spread.
Cover lightly with soil.
Step 4: Create Perfect Growing Conditions
- Keep the soil consistently moist, never waterlogged.
- Provide bright, indirect light – never full sun.
- Maintain warm indoor temperatures above 65°F (18°C).
Within a few weeks, green shoots will appear.
Step 5: Begin the “Bottomless Harvest”
After 3–4 months of growth, the rhizomes will have expanded. Here’s how to harvest ginger while keeping the plant alive forever:
- Dig gently along the side of the pot.
- Locate a large rhizome section.
- Snap off the piece you need.
- Cover the remaining rhizome back with soil.
The plant will continue growing horizontally, producing new ginger indefinitely.
This method mimics how ginger grows in the wild, where rhizomes spread continuously while older segments are naturally replaced.
Method 2: The Self-Regenerating “Ginger Wheel” – Endless Ginger From Rotating Sections
This method ensures you always have new ginger growing, maturing, and ready to harvest on a rotating cycle.
Step 1: Use a Wide Container and Divide It Into Sections
Choose a very wide pot – ideally 16–20 inches across. Visualize the pot divided into four sections, like slices of a pizza.
Step 2: Plant Rhizomes in One Section First
Start by planting ginger only in one quadrant of the pot. Let it grow for 2–3 months until it fills that area with new rhizomes.
Step 3: Plant the Second Section
Once the first section is well-established, plant ginger in the second quadrant. Because ginger grows slowly, this staggered planting ensures constant production.
